We have published an blog before that detailed the power of Google Analytics for your marketing strategy but how do you get started?
Among the many things GA can tell you about your site’s performance, its off-the-shelf functionality can show you the most popular blog articles, the channels which drive the most traffic and how the probability of a conversion can change depending on where a visitor enters your site.
With the introduction of GA4, it’s now possible to do all this and more, across websites, apps and even incorporate data from IoT-enabled devices. GA4 also provides predictive modelling to enable more accurate projections and ultimately a better understanding of how to improve ROI. But before you can do any of this, you need to set up tracking. It’s surprisingly simple once you know how. So here it is, how to set up GA4 and get instant access to all this valuable data.
1. Set up your account name
Firstly, you will need to set up an account and to do this, visit the account set-up page. You will need an email address or Google account login, or if you have an email associated with the site you want to track, it’s best to use that. You can track multiple properties with one account, so bear that in mind when you’re choosing a name. Make it something that could apply to multiple sites, for example the name of your company, as opposed to the name of an individual site.

2. Confirm your data sharing settings
Once you’ve chosen the name, there are some check boxes with information about sharing your data. Please read these carefully as the options you select will determine how much of the data you share with Google and for what purposes.
3. Create a property
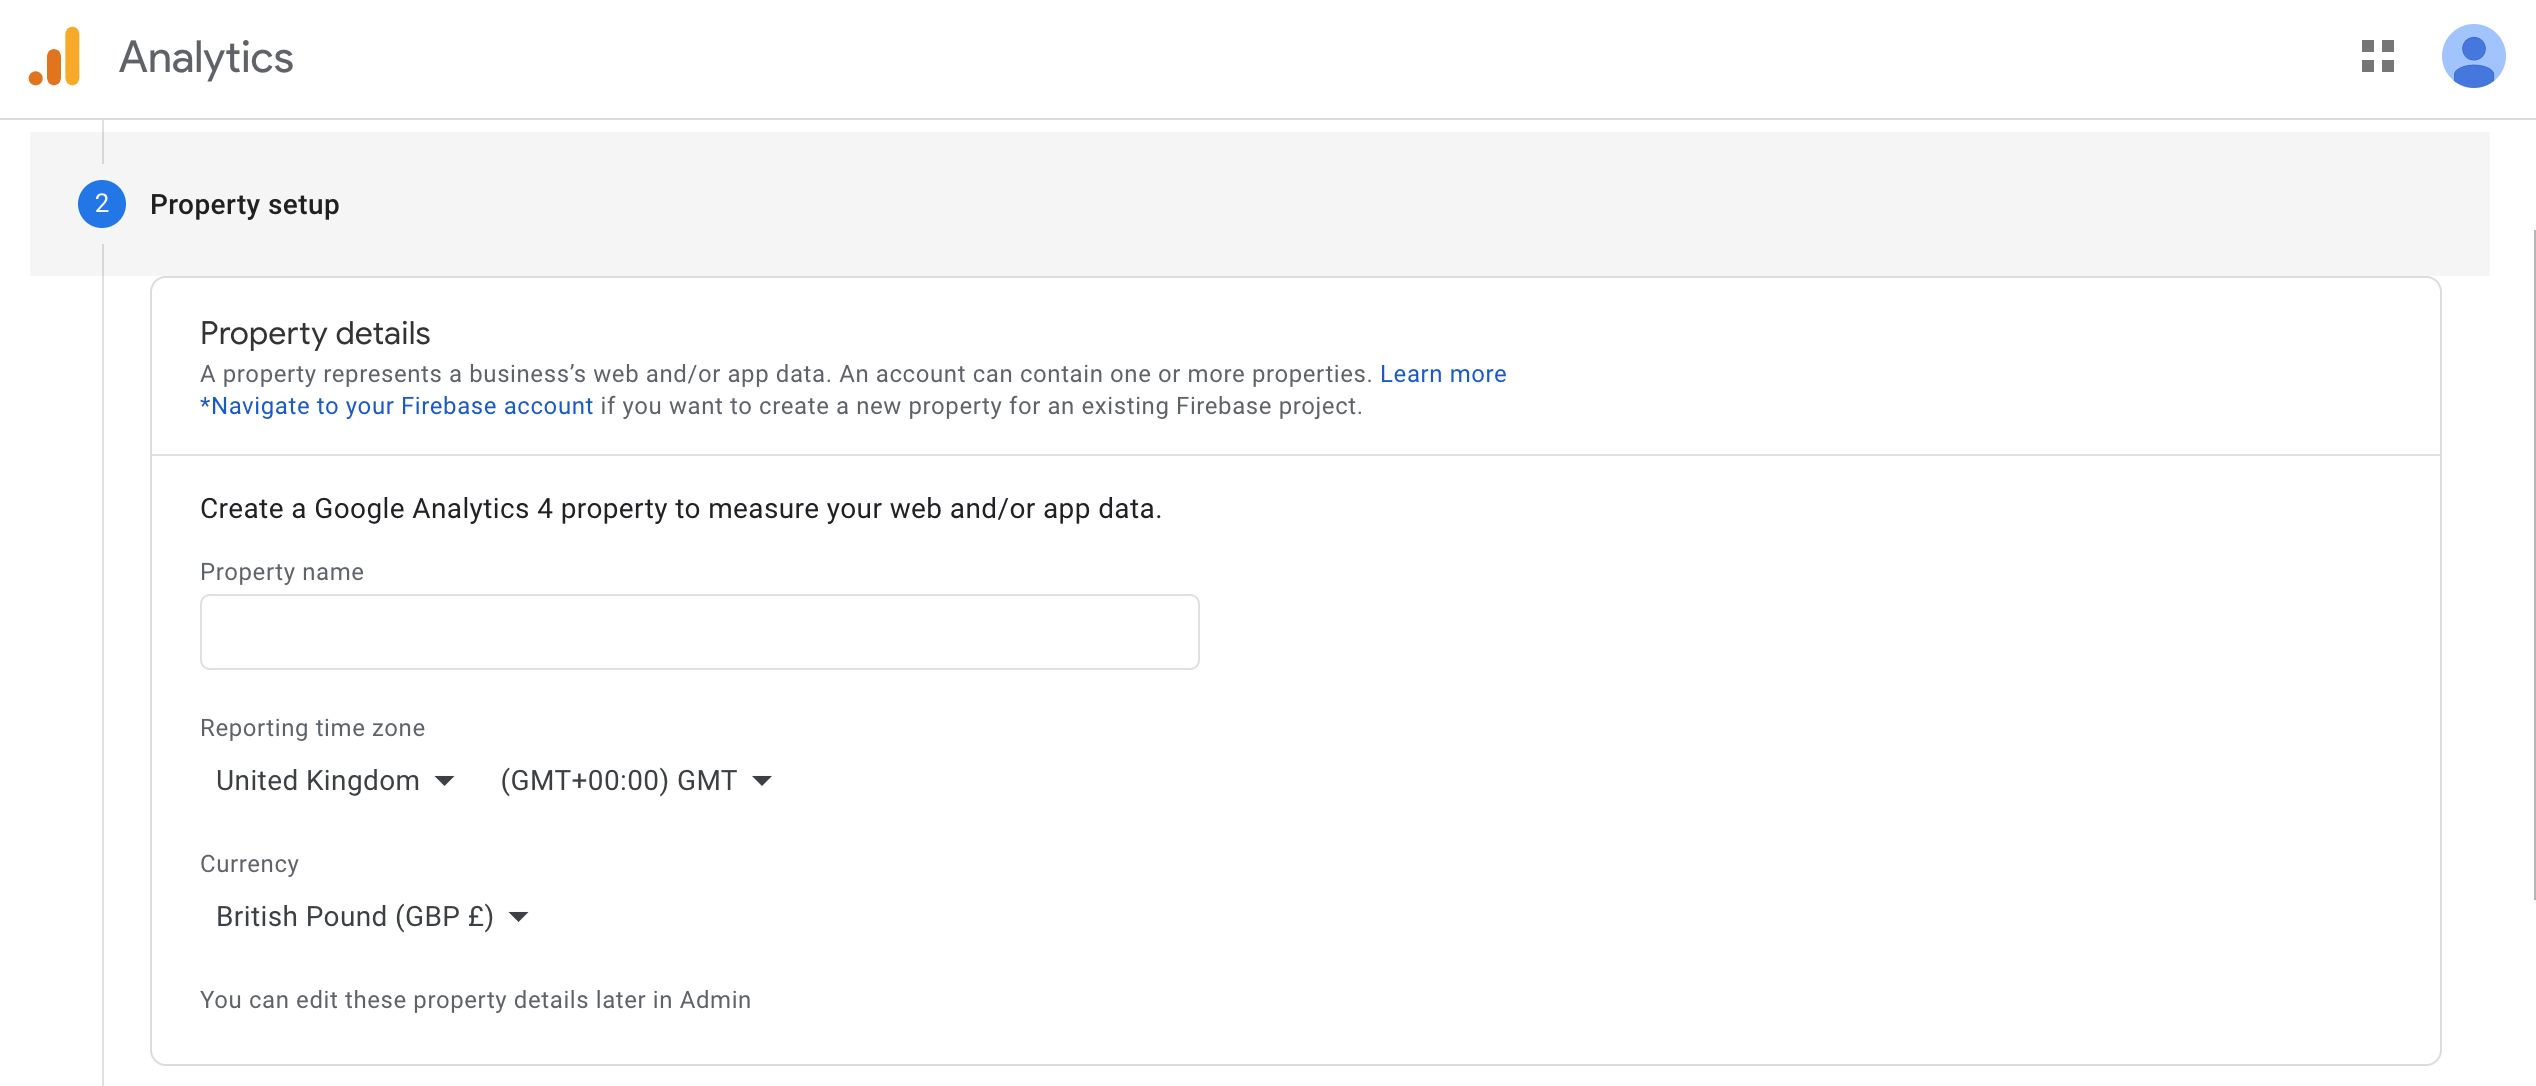
Once you have set up your account, you need to create a property. This is the individual site you will be tracking, so here is where you enter the name of the site or the business it represents.

4. Enter your timezone and information about your business
Next, select the time zone and currency best suited to your audience, or the primary location of your business. This will help make the data more relevant and easiest to understand once you start tracking performance. After this, you’ll be asked to enter information about your industry and the size of your business.
5. Confirm intended use
Below that, you will be asked to select what you intend to use the account for. This is partly for Google’s own data and won’t affect your experience of the platform or its functionality, so feel free to check those options however you wish. It is also likely that you will end up using GA in ways that you don’t envisage at the start, so don’t worry too much about how you fill these in.
6. Accept the terms of service
When you hit ‘Create’ you’ll be presented with Google’s terms of service. Select the relevant country and give them a thorough read, then, depending on what you think, check the box marked ‘I Accept’.
7. Create a stream i.e. select your platform
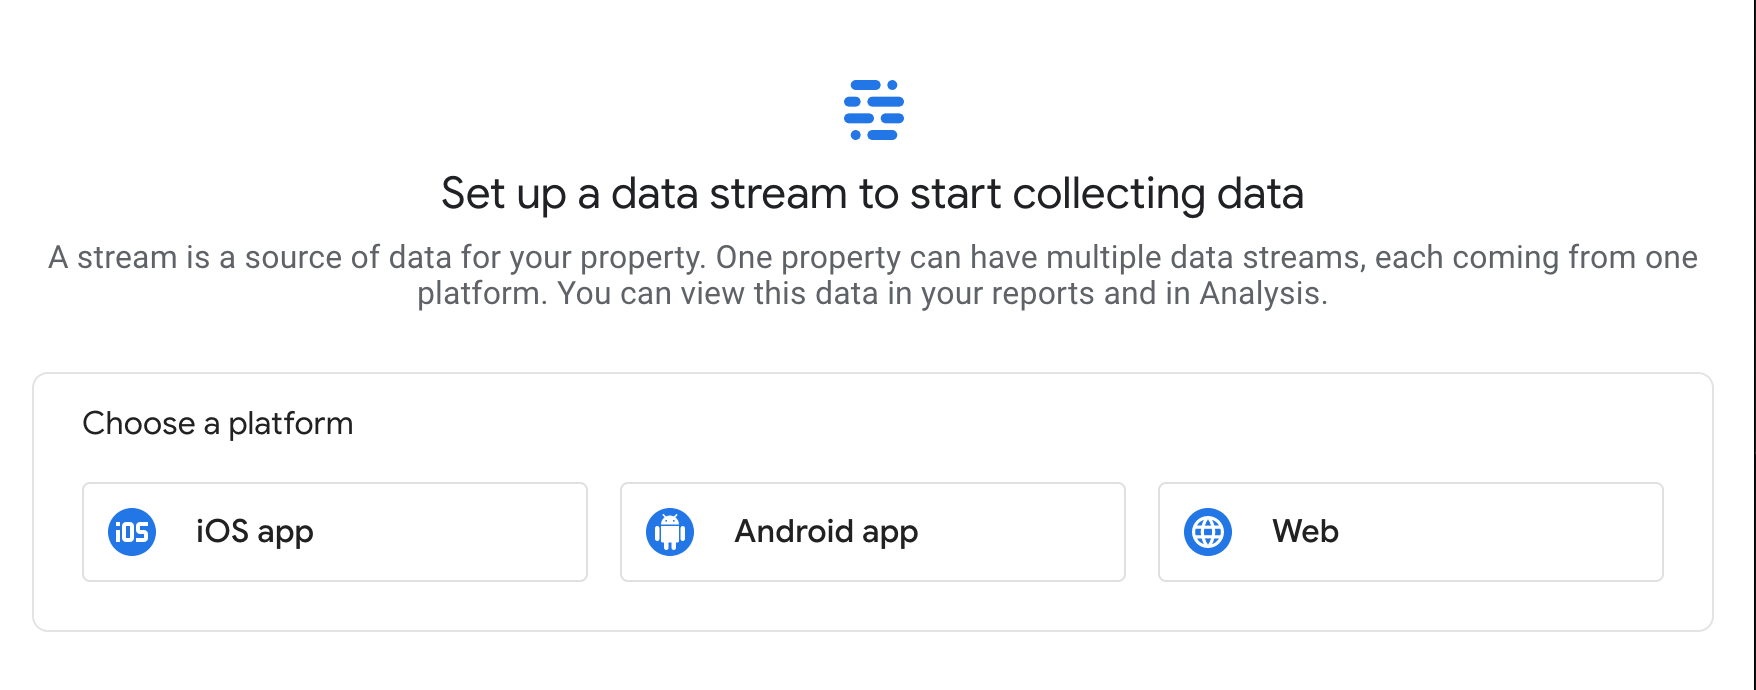
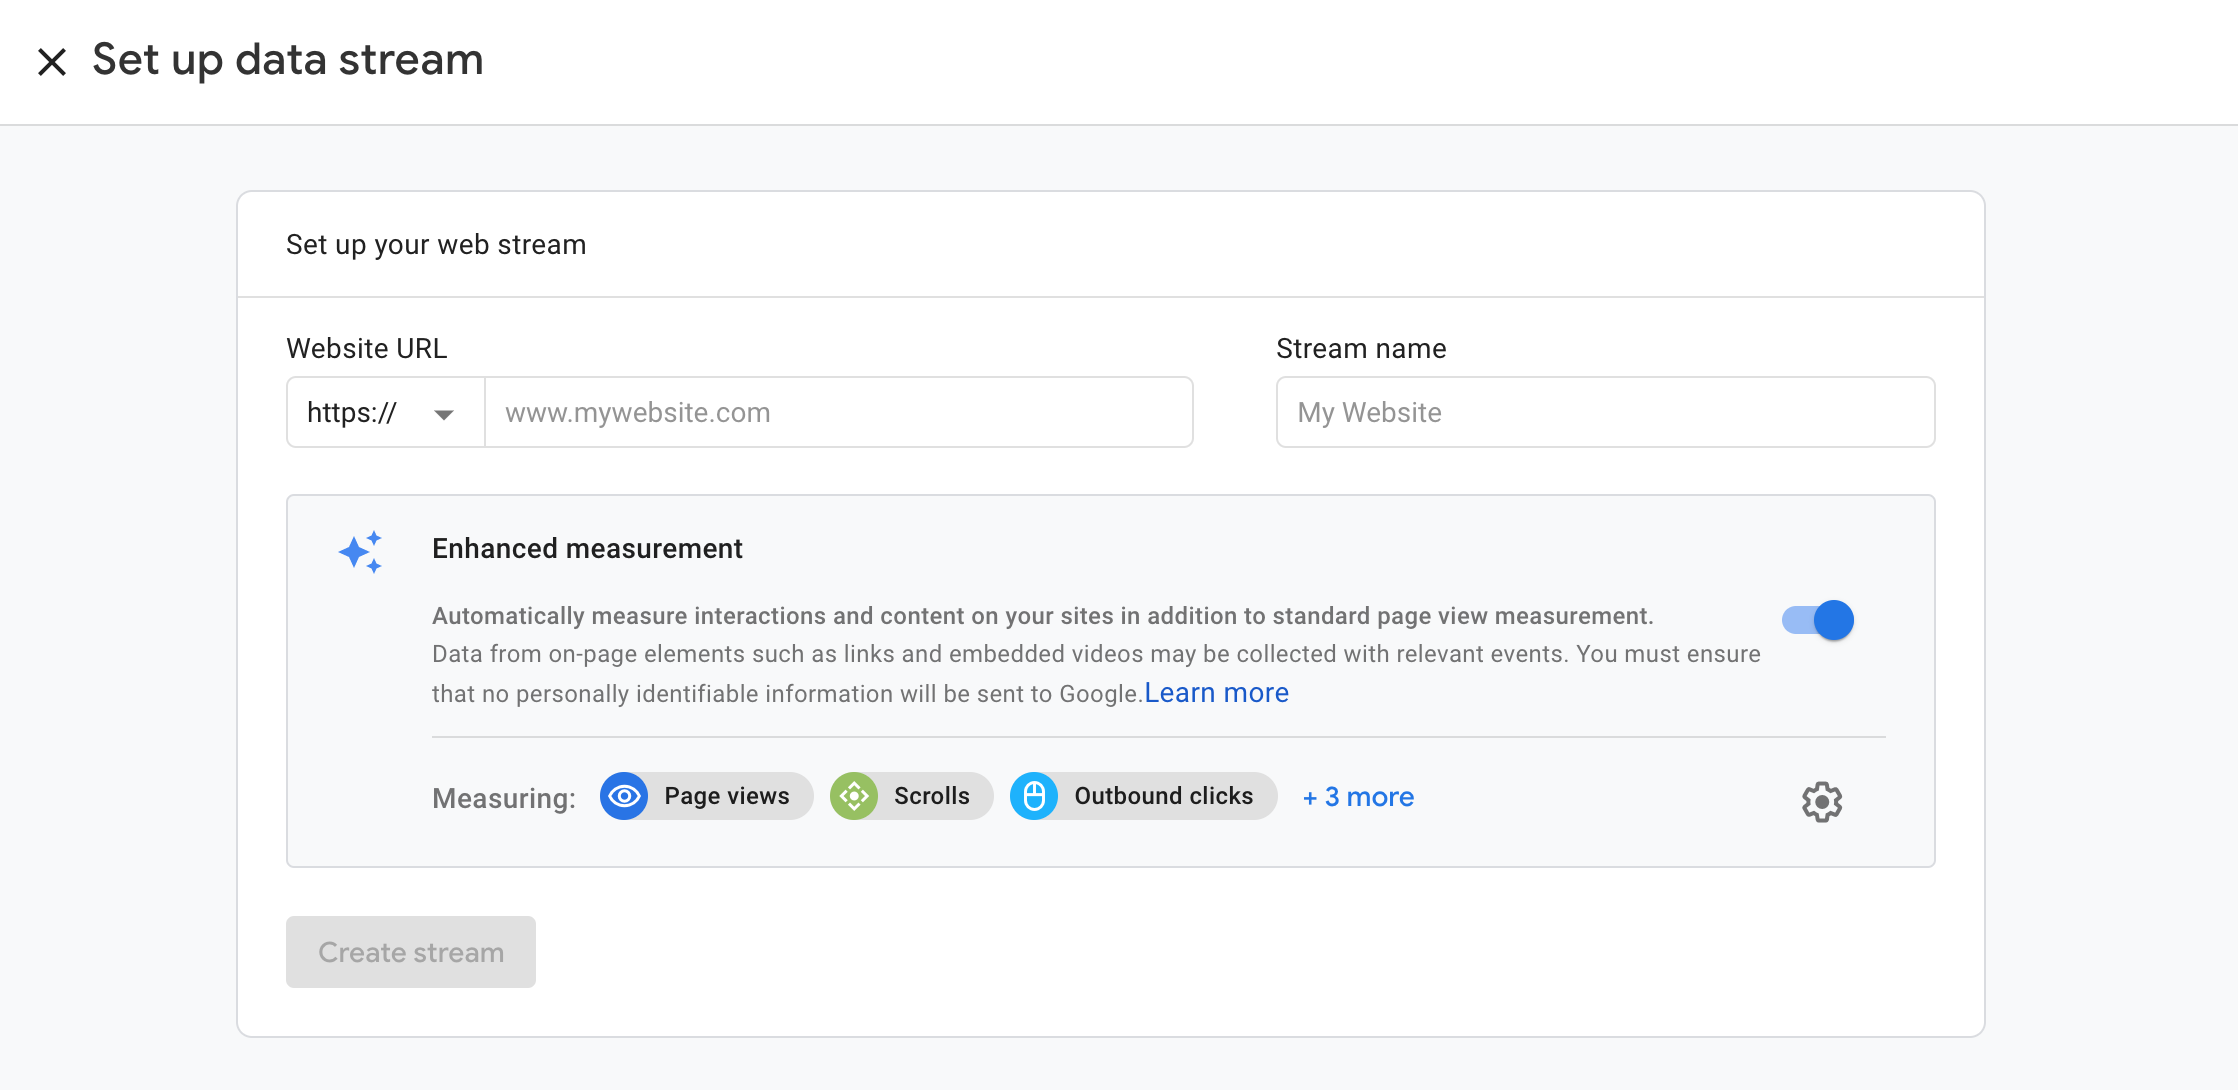
You will be asked to select a platform so if you are tracking website traffic, select ‘Web’, but if you want to track an app, select ‘iOS App’ or ‘Android App’ depending on which one is relevant. Once you have selected your platform, you will be asked to enter the URL and name of your site or app. Hit ‘Create Stream’.


8. Set up your tracking
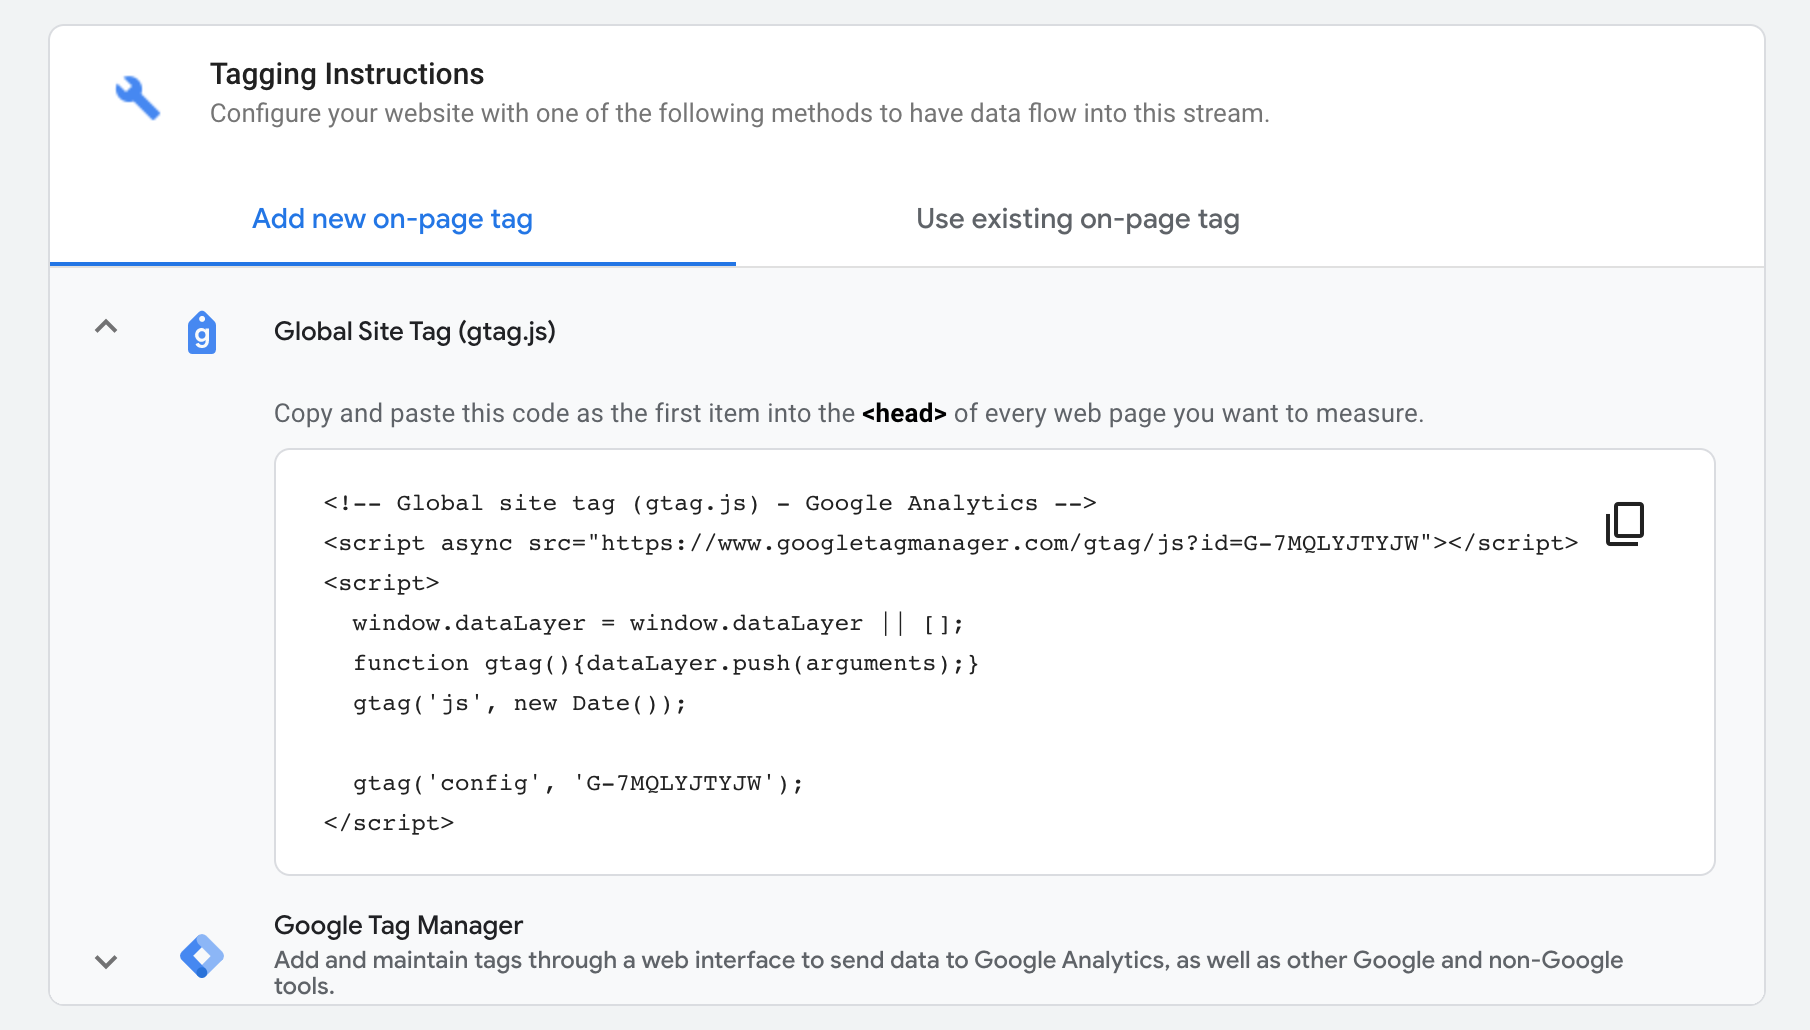
Once you’ve hit ‘Create stream’ all that’s left is to configure the tracking. If this is the first property you’ve set up, the likelihood is you’ll need to add a new on-page tag. You can do this by selecting ‘Global Site Tag (gtag.js)’ and adding the unique tracking code into the top of the <head> section on every page that you want to measure. If you have access to your website’s source code, or are working with a developer, this is a straightforward matter of pasting your GA tracking code in the right place. If you’re using a CMS, like WordPress, there are many plug-ins which can do this for you, so you don’t have to worry about messing up your site.

So there you have it. You are now ready to start benefiting from traffic data and feeding it into your marketing strategy. The best way to start is by experimenting. Explore the reports and metrics and get yourself familiar with the basics. There is no way you can do any damage so don’t be scared to click on anything. Think about what matters for the success of your business and what you want your visitors to do, and go from there.


